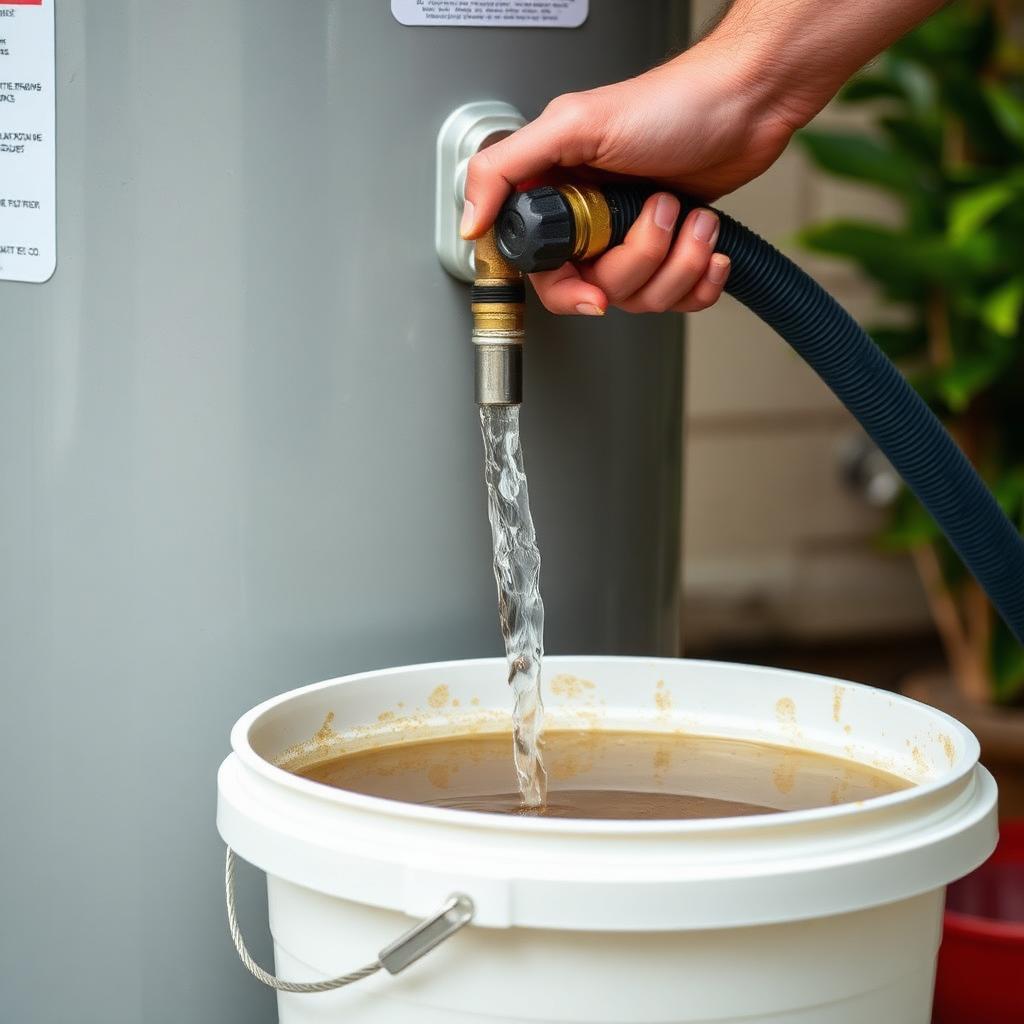
Why Flushing Your Water Heater Matters
Over time, minerals like calcium and magnesium (common in Southern California's hard water) settle at the bottom of your water heater tank. This sediment buildup causes:
Reduced efficiency: The heater works harder, raising your energy bills
Strange noises: Popping and rumbling sounds from hardened sediment
Hot water shortage: Sediment displaces water, reducing capacity
Premature failure: Overheating at the bottom damages the tank liningThe good news: Flushing your water heater once a year is a simple DIY task that takes about an hour and can add years to your unit's life.
What You'll Need
Before you begin, gather these items:
Garden hose (long enough to reach a drain or outside)
Flathead screwdriver (for some drain valves)
Adjustable wrench
Bucket (for initial testing)
Protective gloves
Safety goggles
Towels (for cleanup)Important Safety Precautions
⚠️ Water from the tank is extremely hot and can cause serious burns.
Always turn off the power/gas first
Let the water cool for at least 2 hours after turning off the heater, or flush in the morning before the unit has reheated
Never stand directly in front of the drain valve when opening it
Keep children and pets away from the work area
If you're uncomfortable at any step, call a professionalStep-by-Step Guide to Flushing Your Water Heater
Step 1: Turn Off the Power or Gas
Gas water heaters: Turn the thermostat dial to the "Vacation" or "Pilot" setting, or turn the gas control valve to "Off"
Electric water heaters: Turn off the circuit breaker labeled "Water Heater" at your electrical panel
Verify power is off — electric elements can burn out if operated without waterStep 2: Turn Off the Cold Water Supply
Locate the cold water shut-off valve at the top of the tank (usually marked with a blue handle or "COLD")
Turn it clockwise until it stops
This prevents new water from entering the tank while you drain itStep 3: Attach the Garden Hose
Connect one end of the garden hose to the drain valve at the bottom of the tank
Run the other end to a floor drain, sump pump, large bucket, or outside area
Ensure the drainage area can handle hot water and sedimentStep 4: Open a Hot Water Faucet
Open the hot water tap at a sink nearest to the water heater
Leave it open throughout the flushing process
This prevents a vacuum from forming and allows water to flow out smoothlyStep 5: Open the Drain Valve
For a standard drain valve: Turn the valve counterclockwise (left) using a wrench or by hand
For a ball valve: Turn the handle 90 degrees
Stand to the side and open slowly to avoid splashingWhat to expect: Water will initially flow slowly, then increase as pressure equalizes. The first water out may be murky or brown from sediment.
Step 6: Let the Tank Drain Completely
Draining a 50-gallon tank typically takes 20–40 minutes
If water flow slows significantly, sediment may be clogging the valve
To clear a clog: Close the valve, disconnect the hose briefly, then reconnect and reopenStep 7: Flush With Fresh Water (Optional but Recommended)
For a thorough cleaning:
Once the tank is empty, close the drain valve
Turn the cold water supply back on briefly (10–15 seconds)
Let the fresh water stir up remaining sediment
Reopen the drain valve and let it drain again
Repeat 2–3 times until the water runs clearStep 8: Close the Drain Valve and Disconnect the Hose
Turn the drain valve clockwise until snug (don't overtighten)
Disconnect the garden hose
Check for any dripping — if the valve continues to leak, it may need replacementStep 9: Refill the Tank
Close the hot water faucet you opened earlier
Turn the cold water supply valve back on (counterclockwise)
Leave a hot water faucet open in a sink to allow air to escape from the tank
You'll hear water flowing into the tank
Once a steady stream of water flows from the open faucet (no sputtering), the tank is full
Close the faucetStep 10: Restore Power or Gas
Gas water heaters: Turn the gas control valve back to "On" and relight the pilot if necessary (follow manufacturer instructions)
Electric water heaters: Turn the circuit breaker back on
Wait 1–2 hours for the water to reheat before using hot waterHow Often Should You Flush Your Water Heater?
| Water Type | Recommended Frequency |
| Hard water (Orange County, Riverside) | Every 6–12 months |
| Moderately hard water | Every 12–18 months |
| Soft water | Every 2–3 years |
If you're unsure about your water hardness, flush annually as a safe default.
What If the Drain Valve Is Clogged or Broken?
Clogged Drain Valve
If sediment blocks the valve:
Close the valve
Disconnect the hose
Use a wire or coat hanger to gently break up the clog through the valve opening
Reconnect the hose and try again
You can also try "chattering" the valve (opening and closing quickly) to dislodge sedimentBroken or Leaking Drain Valve
If the valve breaks or won't seal after flushing:
Don't panic — this is common with older plastic drain valves
You can temporarily stop the leak with a garden hose cap
Call a plumber to replace the valve ($150–$300)When to Call a Professional Instead
While flushing is a great DIY project, consider calling Water Heater Warehouse if:
Your water heater is over 12 years old (sediment may be too hardened)
The drain valve is broken or severely corroded
You've never flushed the unit and it's been in service 5+ years (heavy sediment buildup)
You notice rust in the drained water (possible tank corrosion)
You're not comfortable working with gas or electrical connections
You want a professional to also inspect the anode rod and T&P valveProfessional Water Heater Maintenance in Orange County
Our annual maintenance service includes:
Complete tank flush and descaling
Anode rod inspection and replacement
T&P valve testing
Gas line and venting inspection (gas heaters)
Electrical connection check (electric heaters)
Efficiency and safety assessmentCall (714) 244-8562 to schedule professional maintenance and keep your water heater running efficiently for years to come!